OZsurvey is an app for marking poles, boxes, clients, points in general, and cables.
It allows you to mark elements on the map while moving if the GPS is turned on.
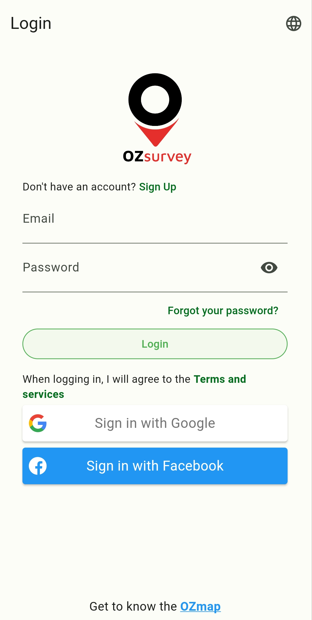
Login Screen
After opening the app, the first thing you'll need to do is log in. Since it's a separate app from OZmap, you must create a new account by clicking the "Create an Account" button to gain access or use an account previously created. You also have the option to log in using your Facebook or Google account.
Map and location
By opening the app, it will ask for permission to use your location. Accepting this permission will facilitate your documentation, as the app will track your movement in real time.

The target icon in the corner of the screen serves a crucial function. When it's filled in the middle, GPS tracking will be active, centering the map on your position and following it as you move. However, when it's empty in the middle, it's detached from your position, allowing you to freely move the map wherever you desire. To switch between modes, simply click on the target icon.

You can zoom in to work on the map by double-click or pinch-to-zoom gestures.
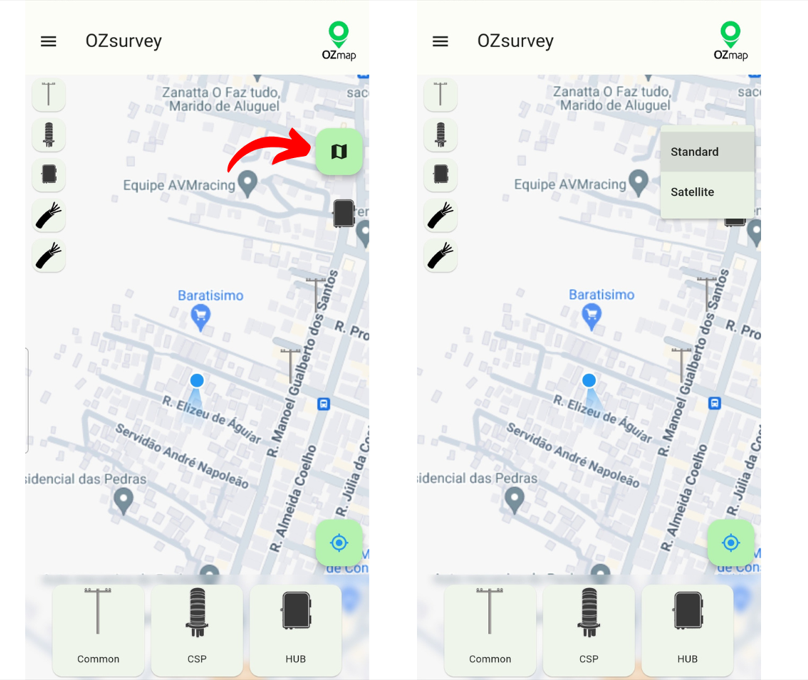
It's possible to switch the image view using the button indicated below, allowing you to choose between the following layer options: Standard Map and Satellite.
Making the markings
Initially, there will be some pre-made buttons for you to start marking poles, boxes, and clients.
The bottom three buttons mark the most common items: Common Poles, CSPs, and HUBs.
Clicking on one of the buttons will place the selected item on the map exactly where the target is located. You can walk down the street and mark the location upon arrival, or deactivate the GPS to adjust, as there may be a margin of error depending on the GPS signal.
The smaller icons on the left side of the screen are initially defined in this sequence: Common Pole, CSP, HUB, Cable, and Drop Cable. Just like the buttons in the bottom menu, clicking on one of them will mark the location on the map.

If you wish to add a name, photos, or observations to your element, simply click on it to fill in this information. Likewise, you can also delete a mistakenly added element using the trash can button in the upper corner of the screen.

Elements Menu
On the top bar, the leftmost icon (with three horizontal lines) allows you to open the elements menu.

In it, you can enable and disable which items appear as buttons in the left or bottom menu presented earlier. For each item, there are two activatable options: "Display" which activates the button on the left side, and "Quick Access," which creates the larger button at the bottom of the screen.
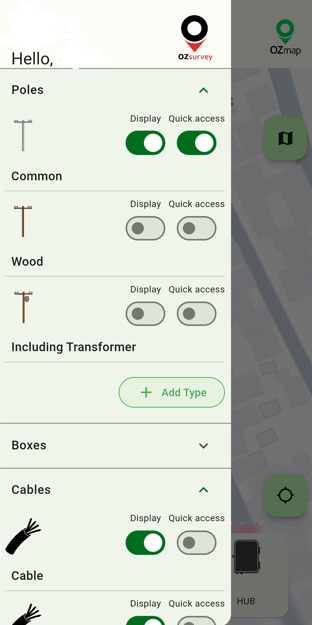
and For each of the established categories, there is the possibility to create new types of elements using the "Add Type" button at the end of each list. However, it's also possible to add other categories of elements if you wish to document one that doesn't yet exist, such as prospects, and condominiums, among others. To do this, it is recommended to use the "Customized" category.

It's worth noting that if you intend to import this documentation into your OZmap, the types of elements must have the same name in both systems. Therefore, it's recommended to customize OZsurvey to align it with the established structure in OZmap.
Cables
To connect a cable to the network, you need to link it between boxes (CSP, HUB). You can insert a cable either by clicking on the box or pole, or through the plus button (+) at the bottom of the screen.

If you add an element during the cable creation, the cable will automatically connect to that element.
When you finish connecting the points, simply click on "Finish."
If you've made a mistake while inserting a point, you just need to click on the red arrow at the bottom of the screen, and the last inserted point will be removed.
Clicking on the cable on the map allows you to edit its name and insert a photo. In the same menu, you can also remove the entire cable.

.
Export data
To export the markings made, simply click on the "Export" button in the side menu of OZsurvey. The generated file will be a CSV table, which can contain all the documented elements or only the ones you desire to export. You can also choose whether to export the added photos along with the elements.
